
Another successful DIY experiment!
I found an xacto knife on clearance and it made all my puzzle-making dreams come true 😀 highly recommend!
With my dreamy xacto knife, I measured and cut out a piece of white foam poster board to fit inside an 11×14 picture frame – I use the same frame from the shamrock puzzle post and just trade out puzzles.

As I said in the shamrock puzzle post, don’t measure for your poster board based on the glass or the picture that comes in the frame – they are usually larger than the actual open space on the front of the frame. You want to be able to just place the poster board puzzle in the frame from the front, not the back like you would for a picture.
I started out by tracing my rainbow – I found an object in the house that made a perfect arc for the outermost arc and then eye-balled each one from there.

To make sure both sides were symmetrical, I cut out one side first…

…then used those pieces to trace the other side. This way I know they are the same sizes!

Two things – make sure you DON’T cut out that bottommost, smallest arc – it isn’t part of the rainbow, so it should be part of the puzzle background. I had to remind myself of this as I was basking in the glory of my xacto knife cutting everything like a knife through butter 😀 😀
Second thing – I shaved a little bit extra off the outermost pieces and cut a little indent above each one to make it easier for the kiddos to get their little fingers in and remove the pieces.
(If you want to add knobs on each puzzle piece to make them super easy to pick up, you can get out your glue gun and glue small objects to each piece for the kiddos to grab. For example – you could get a pack of rainbow pencil cap erasers and glue a color-matched cap eraser to each puzzle piece. Or if you don’t want to buy anything extra, just glue little squares of extra poster board on each piece so that they are sticking up like little tabs for easy grabbing.)
Next, paint or color each piece – I tried crayon, marker, and paint and found paint just looks better and more even.

While those are drying, you can decorate the rest of the puzzle!
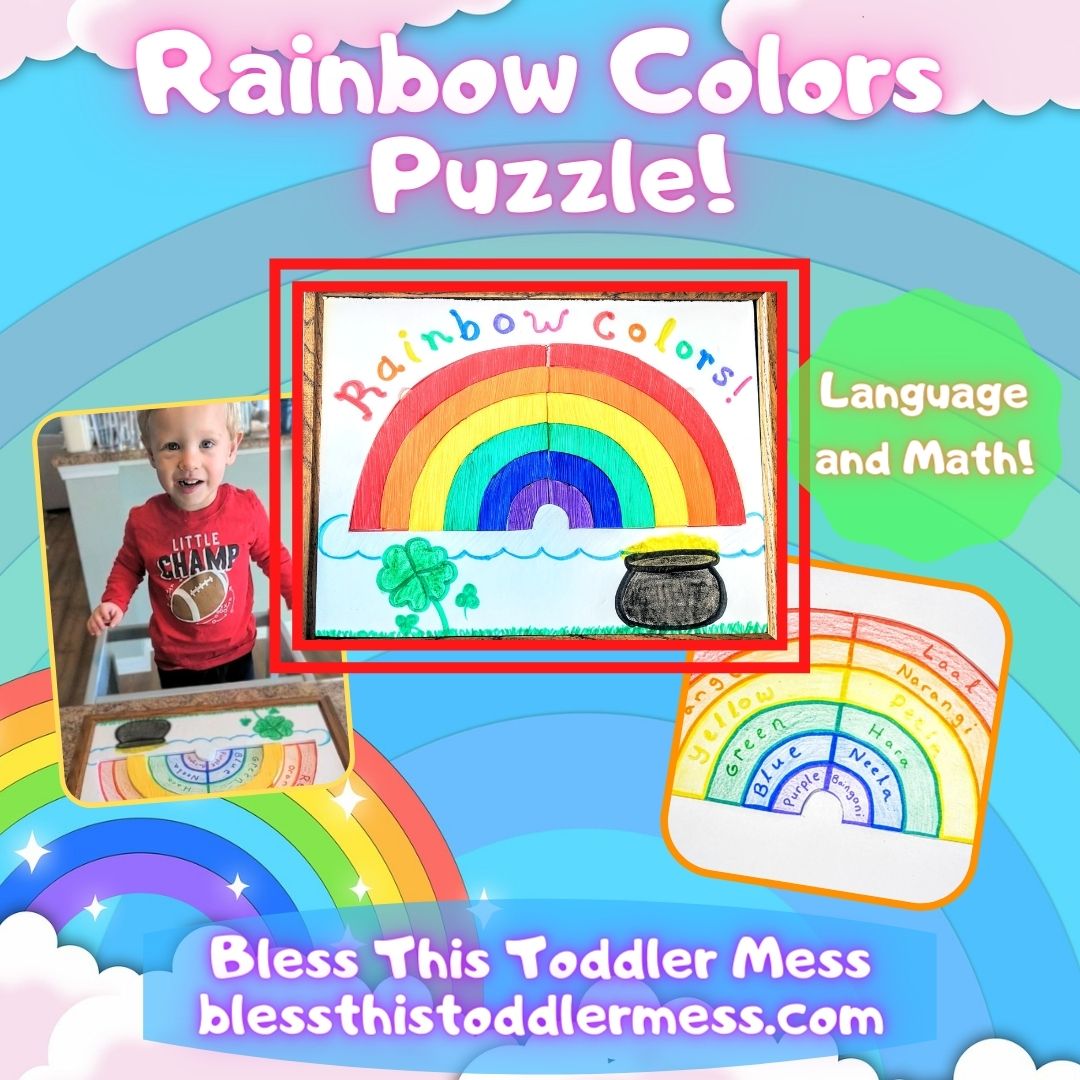
For the puzzle back (what you see when the pieces are removed), I wanted to add a language element – so I traced the arc puzzle pieces on a white piece of paper, and on one half I wrote the colors in English, and on the other half I wrote the colors in Hindi! Then I shaded each arc lightly with their corresponding color.


Tape that paper to the back of the puzzle making sure it’s lined up correctly, and the puzzle is ready to go!

This puzzle is great because a rainbow has all kinds of math to play with! Not only does it have colors to name but they appear in a pattern!
Also, a rainbow introduces a new shape – the arc or semi-circle! And since this puzzle separates each color arc, you can introduce the idea of concentric arcs aka varying sizes of the same arc that fit inside each other.


The puzzle pieces can be matched by color and size…


…with each piece fitting inside it’s “concentric arc.”

Pieces can be matched by color and color name!

And the two sides offer the connection that since the visual color and shape match, the different sounding and looking words must mean the same color!

Fun fact: the earlier you introduce new languages, the better they will learn and remember them!
It is much easier for their developing brains to pick up multiple languages, because they are already programmed to be making new connections and soaking in new information. And the more you use it, the more likely those “connections” are to be kept in the brain and become permanent!
We worked hard on our color names!

He’s a pro!

So we moved on to finding the matching halves!

And we found by adding one yellow half and another yellow half, we had a whole yellow arc! Hello, early fractions and equations!

Rainbow puzzle success 😉

Like it? Please share or follow to see more posts like it!