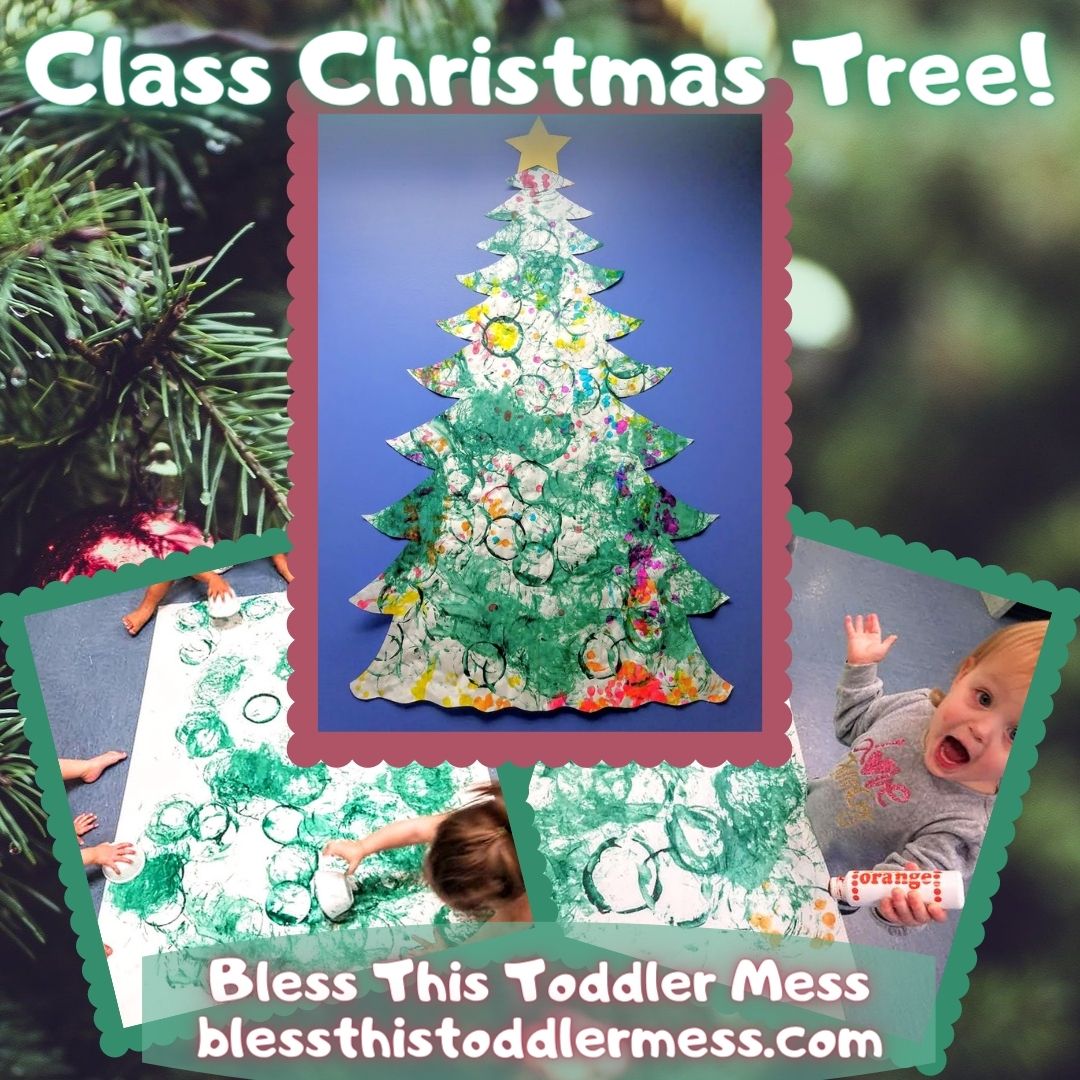
Oh Christmas tree, oh Christmas tree!!!!!!!!!!!!!!!!!!
This is one of my favorite Christmas projects, because not only is it completely child-directed (kiddos have full artistic freedom and create it as they want it) but they get to create together (that’s social-emotional development! Whoop whoop!) Then I get to proudly display what they made by working together!

What you’ll need:
- Long white paper – however big you want the tree
- Green paint
- Cup or bowl to paint the circles
- Dot Markers (if you don’t have these you can use stamps, sponges, smaller cups – anything that will paint smaller circles for the lights 🙂 )
Lay out the paper and tape the edges so it doesn’t move or curl and get the kiddos ready (I stripped them down to diapers to save their clothes so enjoy the Christmas snap-chat stickers in the following pics 😉 )
Isn’t her snap-chat sweater perfect? 😀

And her Santa hat toga lol…

Give them their circle painter (I give each of them a styrofoam bowl) dipped in green paint, and let them go to town!


Once the whole paper is covered and every kiddo has left their mark, hang it up to dry.

When it’s dry, lay it out and let the dot-marker decorating begin!


Love this face 😀


Once the tree is decorated to their satisfaction…the hard part begins haha
Cutting it out to look like a tree can be a little difficult – I’ve tried using an outline but that’s really hard to print out because it’s much bigger than a sheet of printer paper 😉
So I’ve resulted to drawing an outline out by hand to the best of my ability with much trial and error and then cutting along the outline.
My best advice – fold the paper in half vertically, trace out one side of the tree on the back and cut it while still folded in half so at least the long sides of the tree will be symmetrical.

I top it with a star, and then make a ridiculously huge deal out of unveiling “OUR TREE!!!!!!!!!” 😀 😀 😀

Like it? Please share or follow my blog for more posts just like it! (Follow button should actually be working now 😉 )

